CARE, DISPLAY, AND TROUBLESHOOTING.
Care & Display
Troubleshooting
CARE
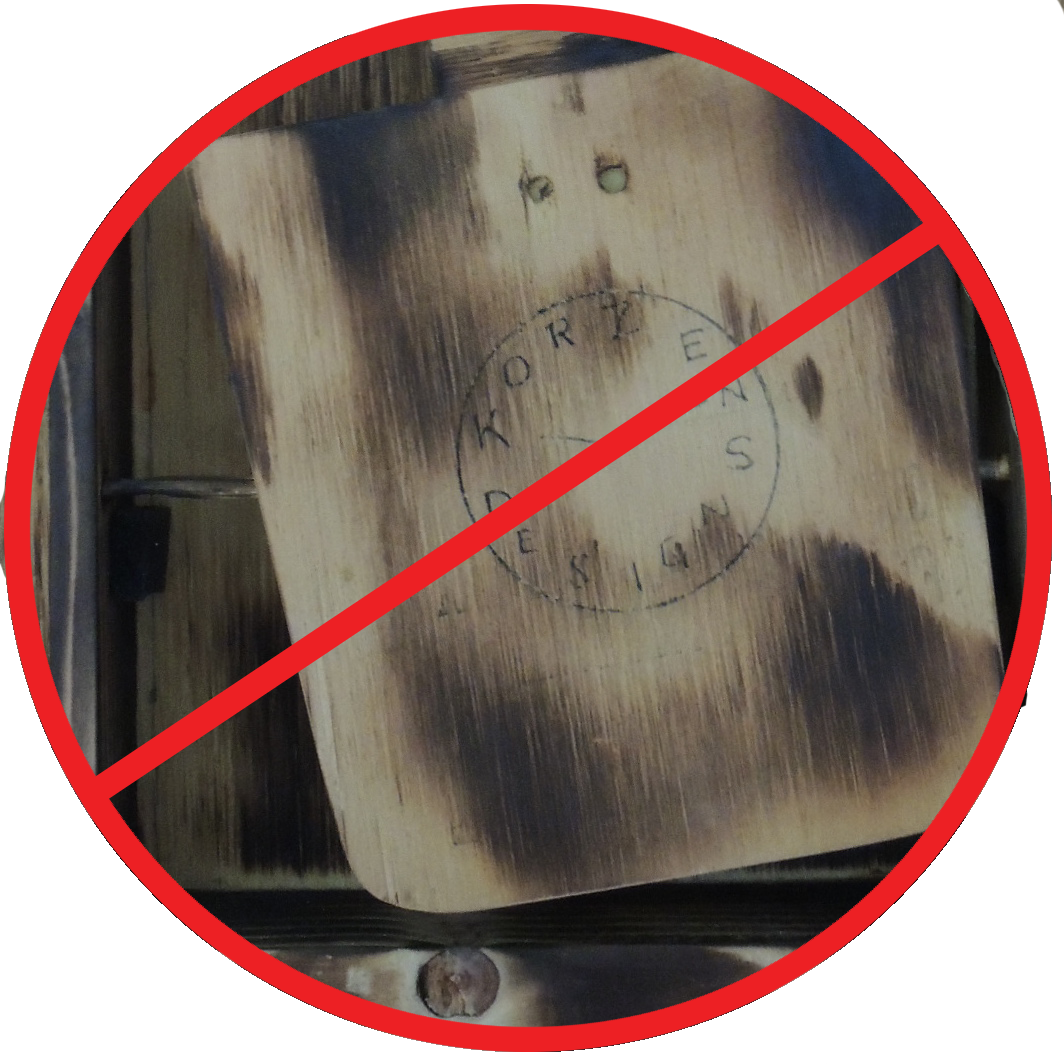
Never lay a clock face down as doing so will likely cause damage to the hands.
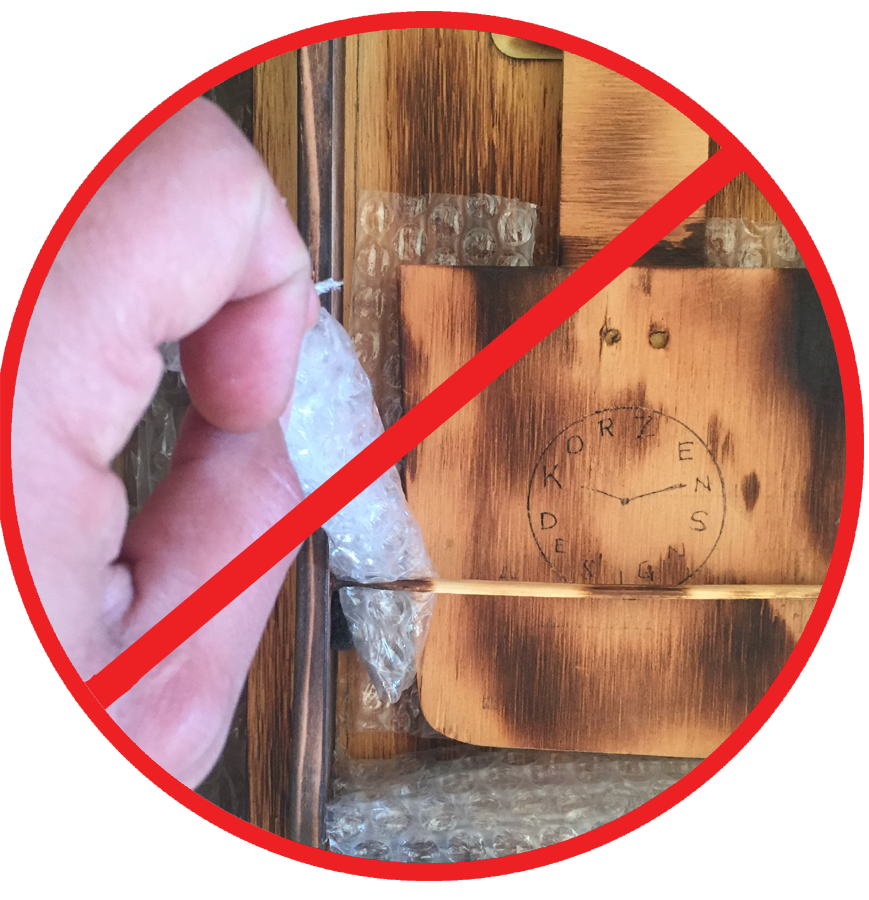
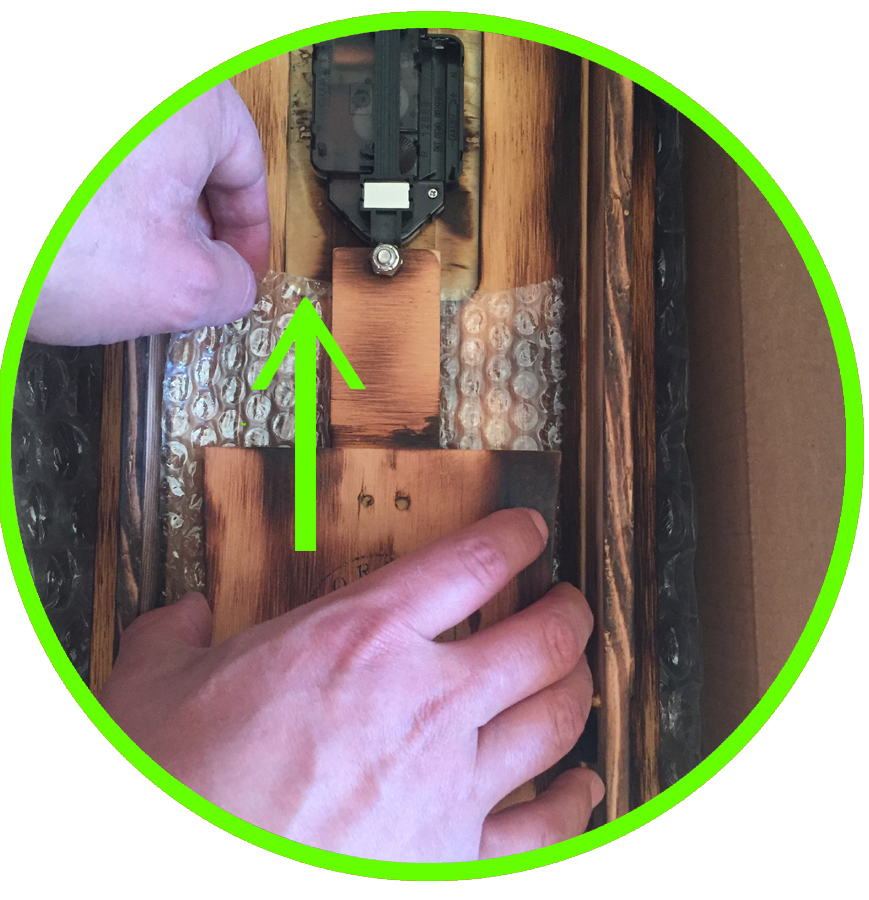
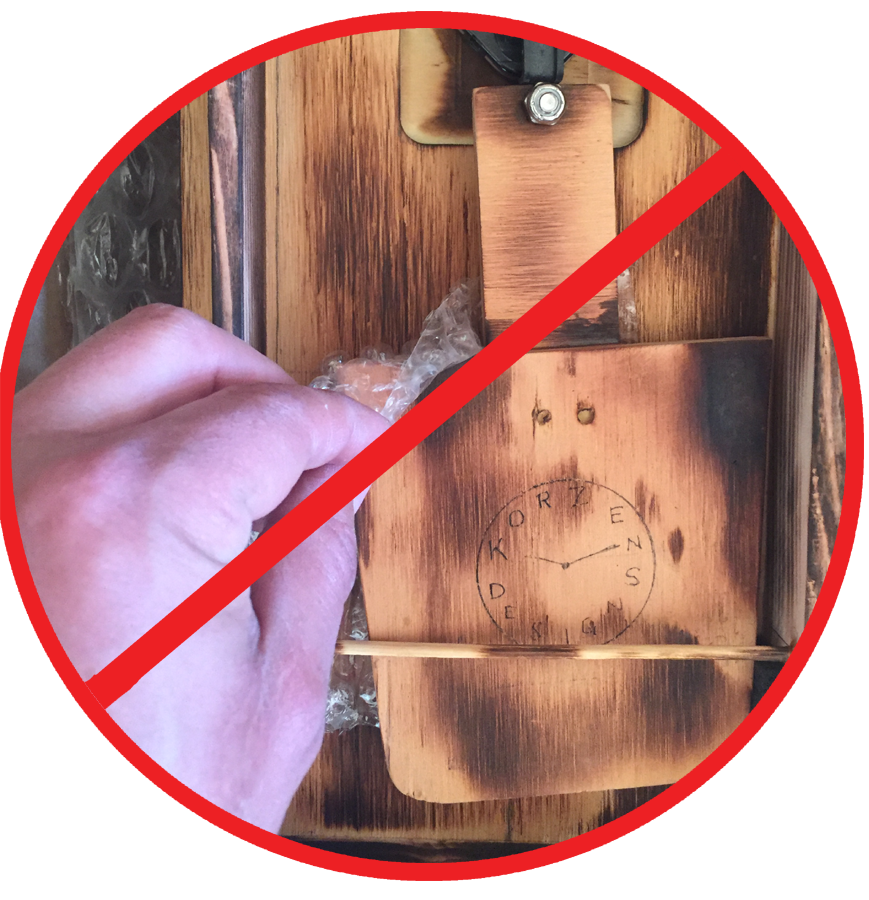
If your piece features a pendulum always support the pendulum during handling.

Not supporting the pendulum during handling can cause damage to the piece.

Cleaning
A dry or damp cloth is usually all that is needed. For designs that feature textured surfaces, a dry paintbrush or dust vacuum work well. Avoid using any types of cleaning solvents as they may damage the finish.
Display
General Display
When choosing an area to display your piece, you’ll want to avoid areas that are prone to direct sunlight, high humidity, or extreme temperature changes; these conditions could potentially cause damage or premature wear to the finish. Displaying wooden pieces in these areas can also cause the piece to warp. For display of our candleholders, please refer to the candle manufactures guidelines and warnings.
Clock and Pendulum Art Display
Start by inserting a fresh new battery making sure it is inserted in the correct orientation (positive end to positive connection and negative end to negative connection). We use a few different styles of motors, and you’ll find that for some it is easier to insert the battery starting with the positive end first, and others it is easier starting with the negative end first.
For clocks, set the time by rotating the wheel clockwise on the back of the motor; do not rotate the clock hands to set the time.

Before setting the time, make sure all of the hands line up at 12 o’clock. If they don’t you can gently move them until they do.
When choosing a location for displays try to avoid areas prone to breezes and vibrations. Breezes from things like windows, air conditioners, or fans, and vibrations from things like uneven tables or slamming doors can interfere with the pendulums ability to swing freely. You’ll also want to avoid areas such as bathrooms or outdoors, as areas with high humidity can accelerate battery corrosion and potentially damage the finish on the piece.
We test the functionality of all of our fuctional pieces, but please note that not all batteries are created equal, and different brands of batteries may fit more snugly or loosely into the movement motors that we use. If you are replacing an old battery that is difficult to remove, do not attempt to pry it out using a screw driver, butter knife, or other similar tool, as this may damage the battery, movement terminals, or movement motor. There are many methods of removing tight batteries that can be found with an internet search, such as sliding a ribbon underneath it and pulling up on the ribbon.
Hanging
Most of our pieces weigh around three pounds, and a simple nail or screw at a slight upward angle is usually all that is needed for hanging on walls.
For some of our larger pieces, we recommend either securing the nail or screw into a wall stud, or using some type of wall anchor that is sufficient for the weight of the piece.

Most of our pieces use a keyhole cutout for hanging, which allows for a larger headed nail or screw to be used.
Table or Shelf Display
Some of our pieces can be displayed on a table or shelf; in this case we recommend securing the piece using museum putty.
Starting a Pendulum
If your pendulum does not start swinging after inserting the battery and displaying the piece, you can give it a gentle swing to start it by using a finger or pencil eraser. You’ll want to make sure that the piece is hung flush against the wall and perpendicular to the floor so that the pendulum can swing freely and evenly.
Most of our pendulum pieces feature two small adjustment screws on the bottom side of the back of the piece. these can be unscrewed to allow the piece to have a slight protrusion from the wall at the bottom end of the piece to help with uneven walls.
if you’re having issues getting the pendulum started, check out our pendulum troubleshooting video.
Troubleshooting
Pendulums
If you’re having issues starting or keeping the pendulum swinging, check out our video on Pendulum troubleshooting:
Next, start with a fresh new battery. As batteries die, the will often have enough energy for clocks to keep time, but not enough to keep the pendulum swinging.
You’ll want to make sure that the piece is hung flush against the wall, or with a slight outward angle at the bottom of the piece by using the adjustment screws on the back. You’ll also want to make sure that the piece is hung straight, so that the pendulum can swing evenly.
Lastly, make sure that breezes or vibrations are not affecting the swinging of the pendulum. Breezes from things like windows, air conditioners, or fans and vibrations from things like uneven tables, or slamming doors can interfere with the pendulum’s ability to swing freely.
Troubleshooting
clocks
If you’re having issues with your clock keeping accurate time, start with a fresh new battery.
If you’re still having issues with a fresh new battery check that the hands are secure and not loose. Also check that there is nothing obstructing the hands such as any dust or debris, the face of the clock, or the other hands.
The hands can be removed by gently pulling up (away from the clock face) around the base of the hands if they need to be adjusted to clear any obstructions.
If your clock has a second hand, make sure that it isn’t stuck or jammed, as this could also stop the clock from keeping accurate time.